
The Microsoft Intune connector gathers data about devices from Microsoft Intune. By facilitating the efficient collection and management of device-related information, it aids organizations in meeting regulatory requirements and ensuring adherence to compliance standards. This integration enhances not only operational efficiency but also contributes significantly to maintaining a secure and compliant IT environment.
Pre-requisites
- Microsoft account to access the Azure portal and register an application to use the Microsoft Graph API.
- Application (client) ID
- Client Secret
- Directory (tenant) ID
Steps to derive prerequisites:
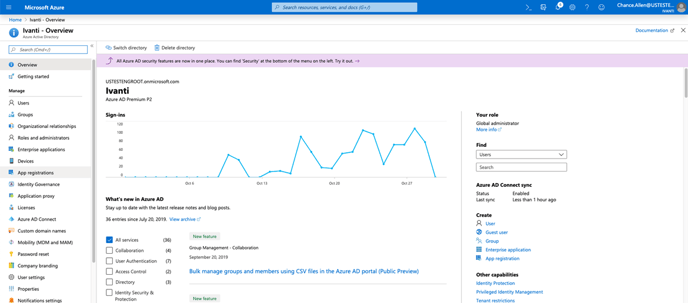
- Sign in to the Microsoft Entra admin center.
- If you have access to multiple tenants, use the Directories + subscriptions filter in the top menu to switch to the tenant in which you want to register the application.
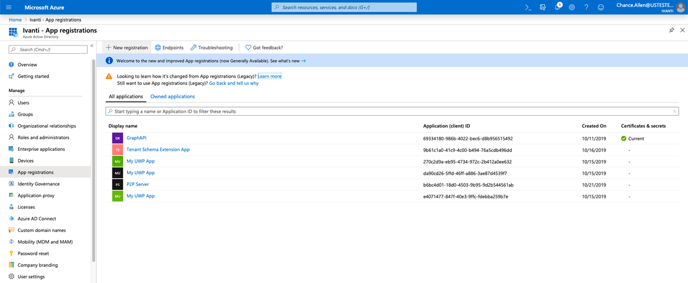
- Click App registrations
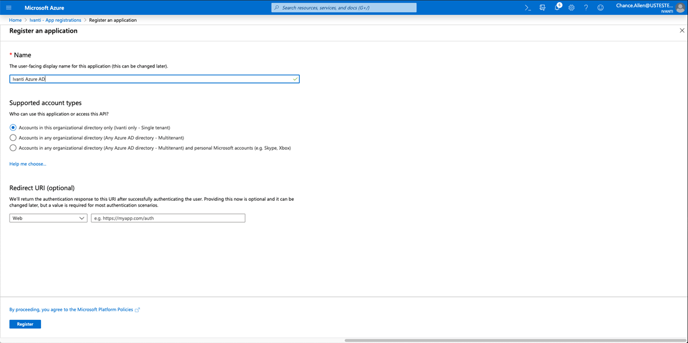
4. Create new registration
5. Enter name, select appropriate account type and click Register
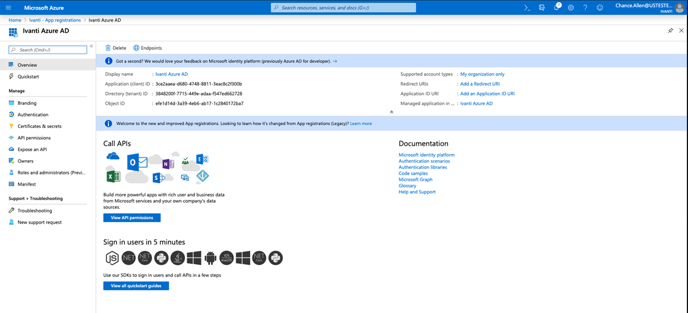
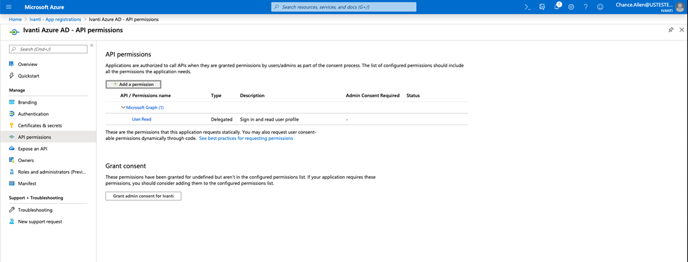
6. Click API permissions
7. Click +Add a permission
8. Select Microsoft Graph
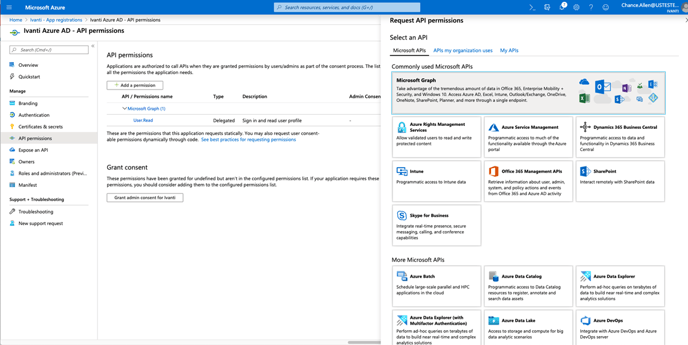
9. In the Application Permissions and Delegated Permissions:-

- Select the following permissions under DeviceManagementApps - DeviceManagementManagedDevices.Read.All, DeviceManagementManagedDevices.ReadWrite.All and click Add permissions.

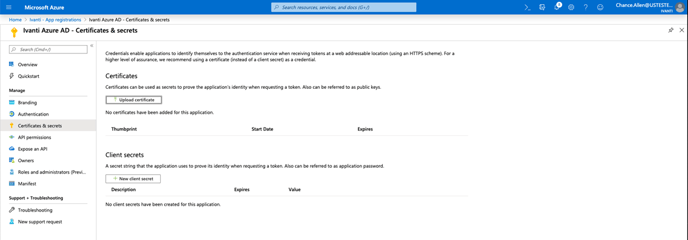
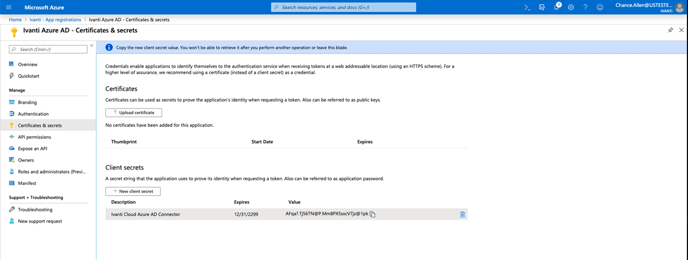
10. Click Certificates & secrets in the menu on the left and Click +New client secret
11. Enter description and Click Add
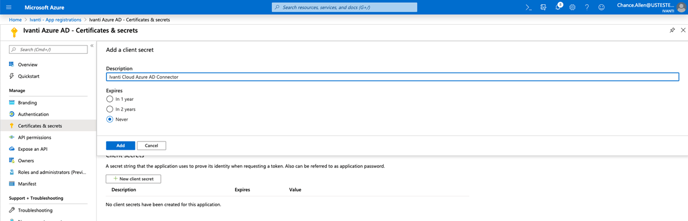
12. Copy your newly created secret and Make a note of it
13. Click Overview in the menu on the left
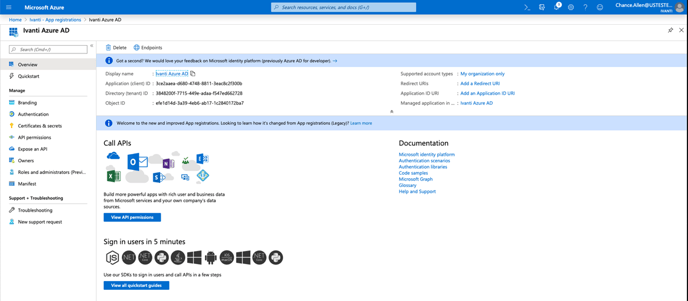
14. Copy your newly created Application (client) ID and Directory (tenant) ID and Make a note of it.
Configurations
The following are the configurations to forward Microsoft Intune Connector logs to DNIF.
|
Field Name |
Description |
|
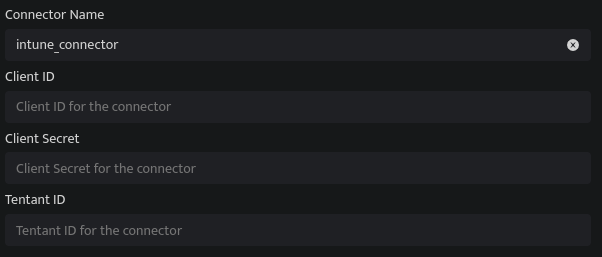
Connector Name |
Enter a name for the connector |
|
Client ID |
Enter the Application (client) ID |
|
Client Secret |
Enter the Client Secret |
|
Tenant ID |
Enter the Directory (tenant) ID |
- Click Save after entering all the required details and click Test Connection, to test the configuration.
- A Connection successful message will be displayed on screen along with the time stamp.
- If the connection is not successful an error message will be displayed. Refer Troubleshooting Connector Validations for more details on the error message.
Once the connector is configured, validate if the connector is listed under Collection Status screen with status as Active. This signifies the connector is configured successfully and data is ready to ingest.