
Let's go on a first search together.
Welcome to DNIF HYPERCLOUD! Whether you're new or just getting started, we'll guide you through the basics. We'll learn how to search for events, filter, group results and create visualizations.
The HYPERCLOUD is a powerful tool for analyzing large volumes of data in real-time. We offer a user-friendly interface that allows you to quickly and easily find the information you need.
Basic Search
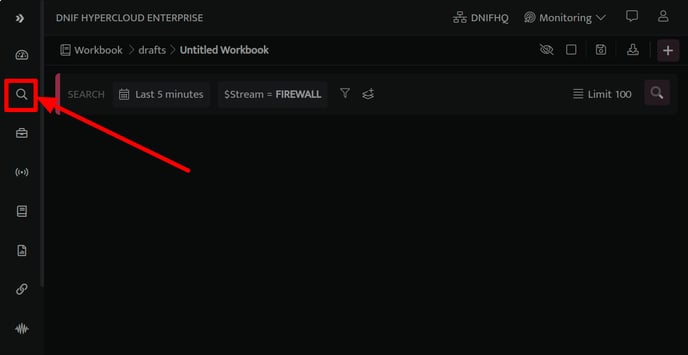
After you log in, you'll see the Search interface. You can access the same by clicking on the magnifying lens icon on the left side of the screen. Here you can create queries by selecting predefined directives, filters, functions, and more. You can search through the data set collated by HYPERCLOUD.
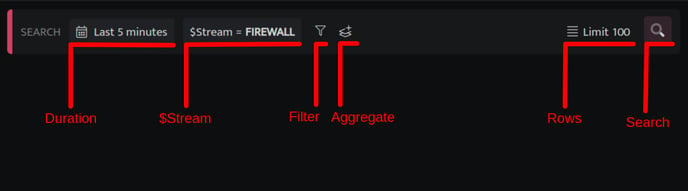
The Search block has different elements, and here is what they mean:
|
Elements |
Description |
|
Duration |
Duration refers to the time range for which the query will fetch results and includes all data ingested during that time period. |
|
$Stream |
Enables you to select and filter specific data sources or categories within the logs and events collected. |
|
Filter |
Filters helps you to set logical conditions on data within fields to refine search results. |
|
Aggregate |
It allows you to perform statistical operations on a specific field within a dataset, such as calculating the sum, average, minimum, maximum, or count of unique values. |
|
Rows |
Rows are the number of records that you'll see in the results of your search. You can set a limit on the number of records returned so that your browser doesn't get bogged down with too much data and slow down. |
|
Search |
The "Search" button is used to execute the query and retrieve the results. |
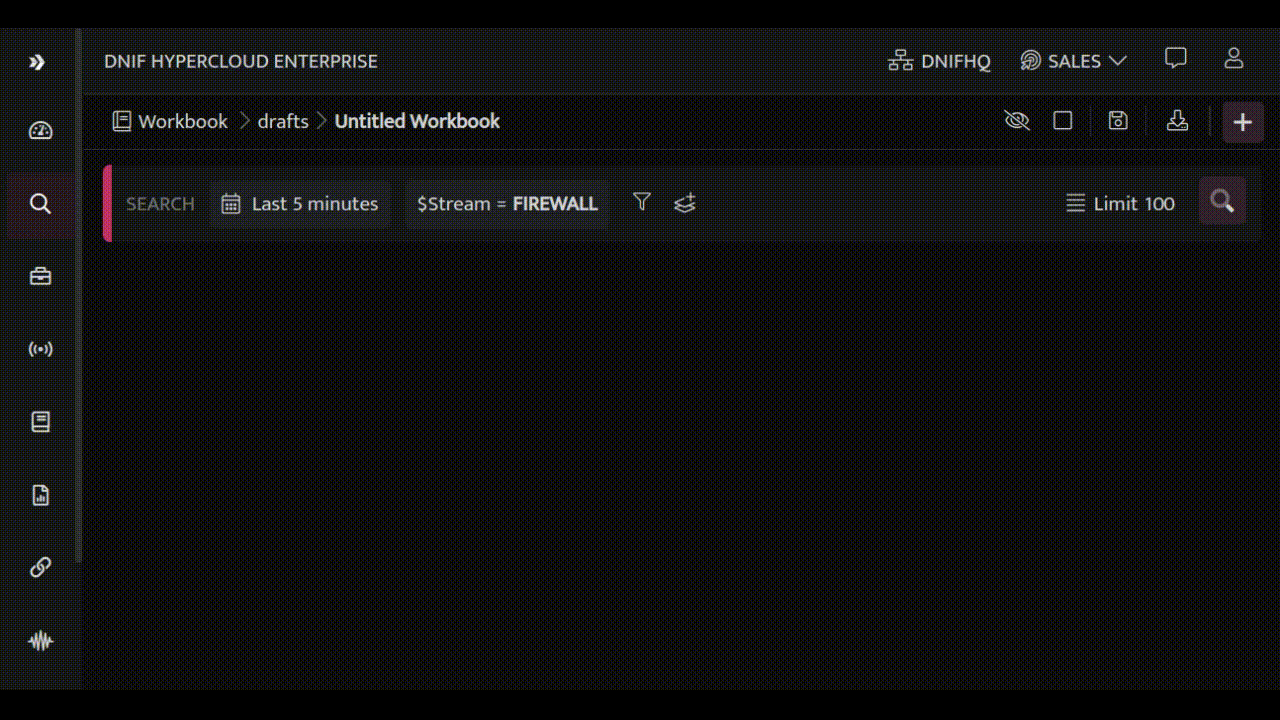
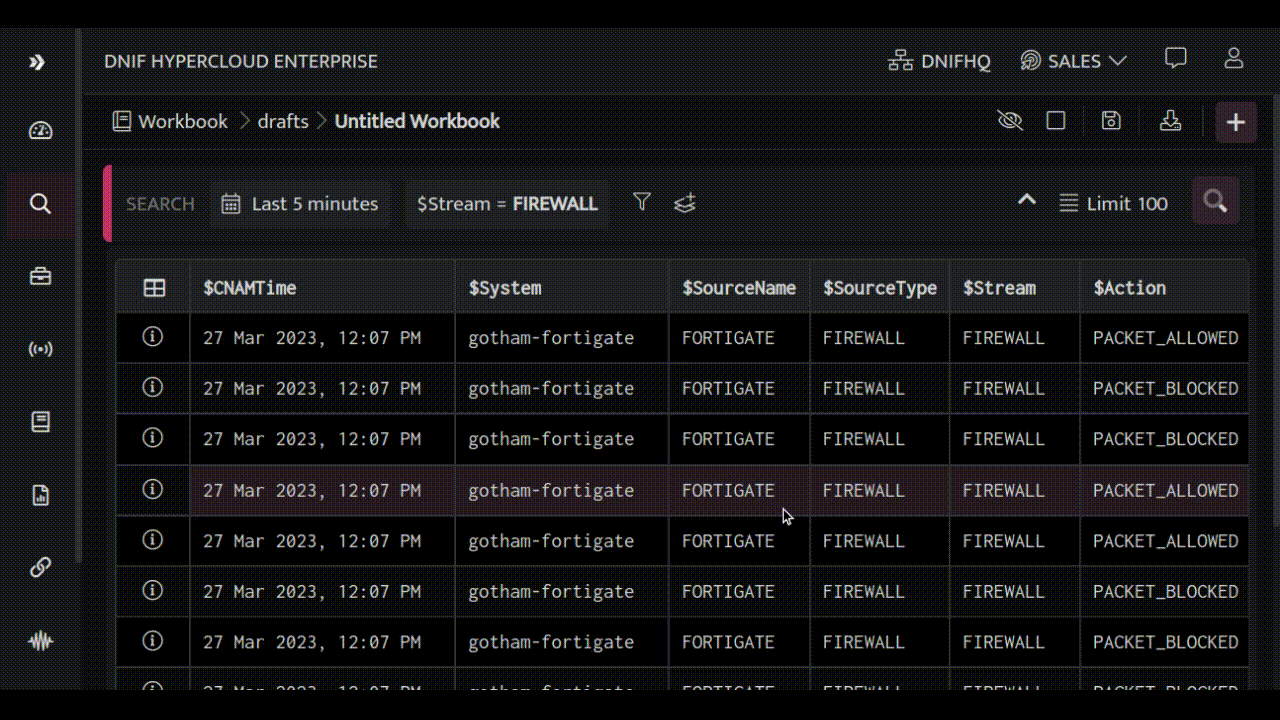
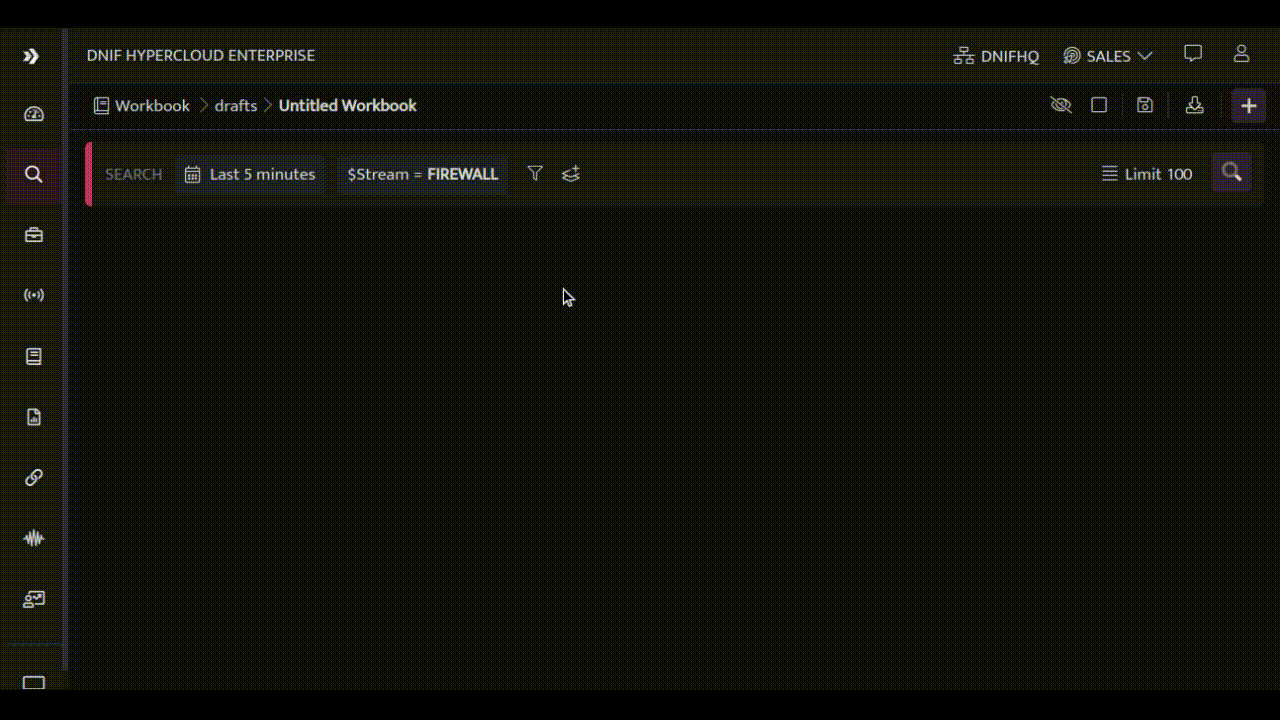
To get a feel for the Search interface, we'll start with a basic query by selecting $Stream as FIREWALL. This query will only return output if you've ingested FIREWALL event logs.
Let's dive deeper into the power of the HYPERCLOUD search block by exploring a practical use case. By following along with the steps outlined below, you'll not only learn how to use the search block effectively but also see firsthand how it can be applied to real-world situations. So, let's get started!
Discovering Blocked Traffic and Targeted Services
We'll explore a powerful use case that demonstrates how to discover targeted services from FIREWALL event logs. First, we'll identify traffic that's been blocked by your Firewall, including the source IP addresses and countries where the requests originate from.
Next, we'll uncover the destination hosts and ports that these requests were trying to reach.
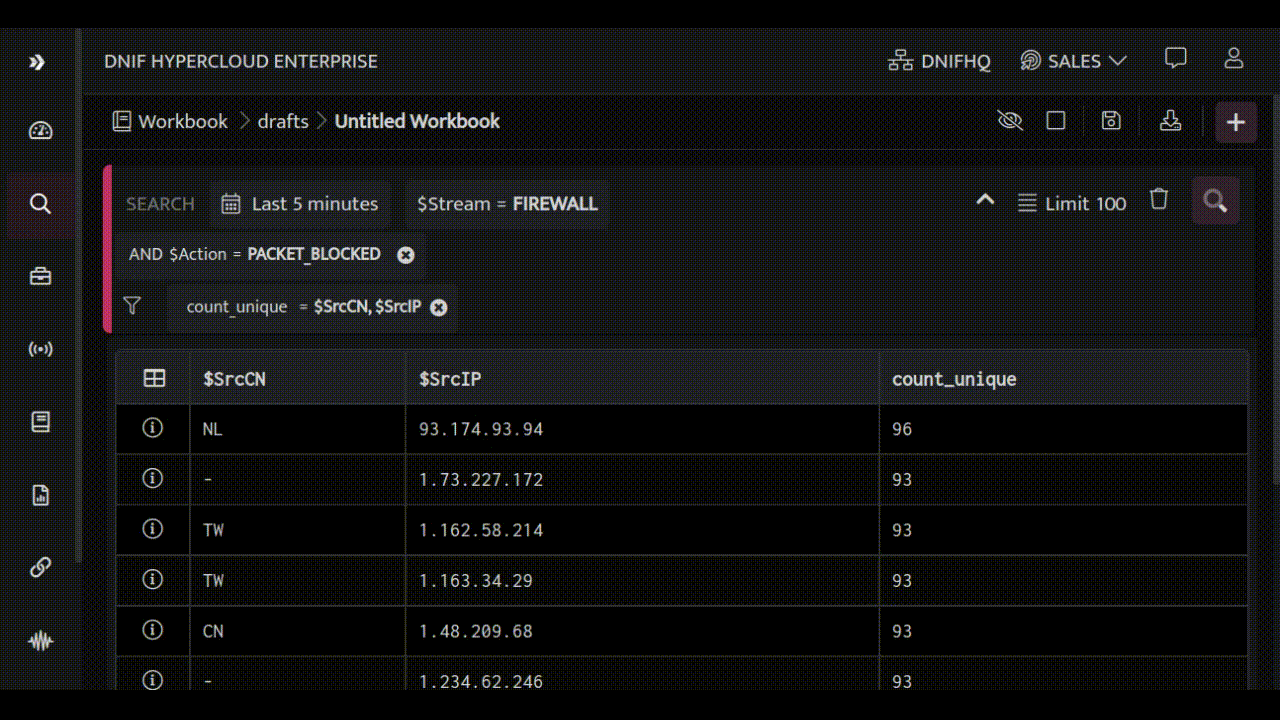
By analyzing this information, we can see that a lot of blocked traffic comes from China and Taiwan, targeting ports 1433, 445 and 23. These ports are running Microsoft SQL, Microsoft Directory Services for Active Directory (AD) and TELNET, respectively. To make it easier to understand, we'll create a bar chart for quick reference.

And Voila, you have successfully found a list of targeted services along with suspected sources that have unusual or suspicious activity.
Pinpointing Suspicious Authentication Attempts
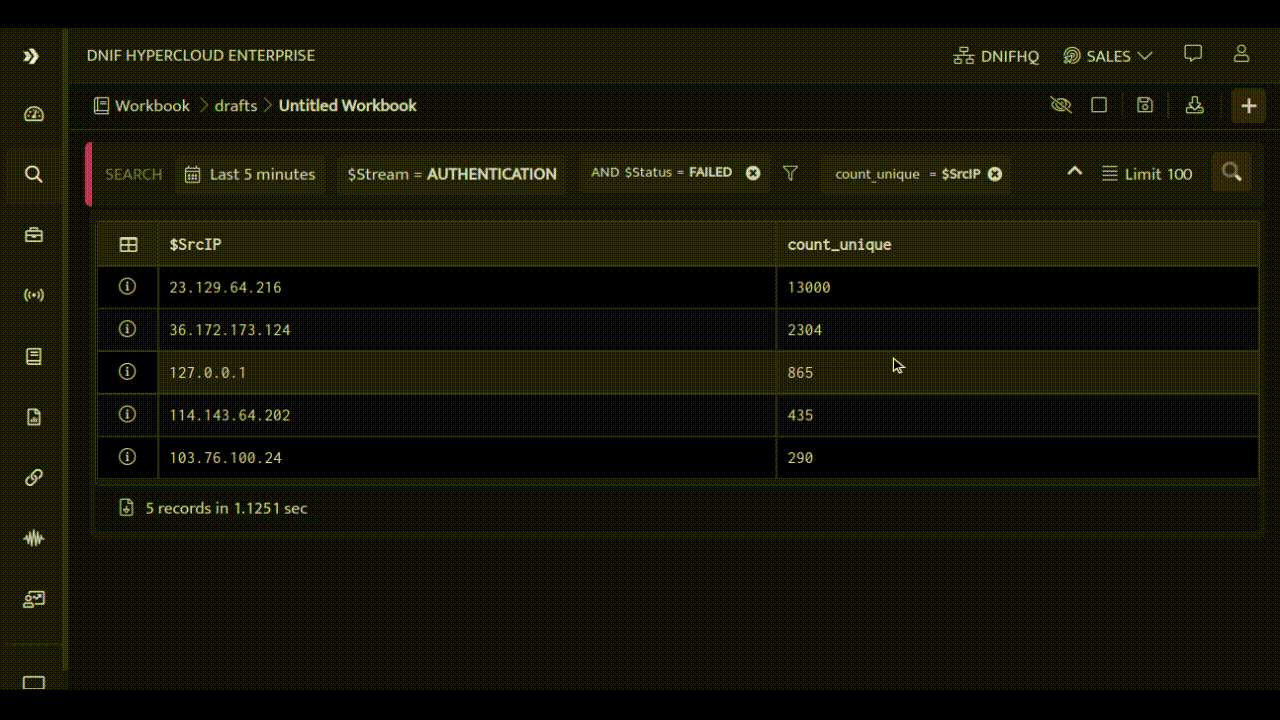
Let’s look at another example to identify “Targeted Hosts/Servers through Failed Authentication Attempts” and create a report out of it in the HYPERCLOUD.
Let’s start off by identifying failed AUTHENTICATION events along with the source IP Addresses:
Now, let’s see the target system on which the authentication attempts were made:
Let’s save this workbook and create a report:

With the above two use cases, we have completed the journey to see the basic features of the HYPERCLOUD and how simple it is to use the interface, you can explore more advanced features of the console, such as Workbooks, Reports, Dashboards, and Signals. To learn more about these features, check out our comprehensive guides:
These guides will provide you with the knowledge you need to take full advantage of the platform's capabilities and gain deeper insights into your data.